![99745fd6-afc8-495e-a1a1-c5fa6c1501aa.png]](https://resources.spectotechnology.com/hs-fs/hubfs/99745fd6-afc8-495e-a1a1-c5fa6c1501aa.png?width=300&height=113&name=99745fd6-afc8-495e-a1a1-c5fa6c1501aa.png)
Index

Video
Article
-
Open the SV307A Casing
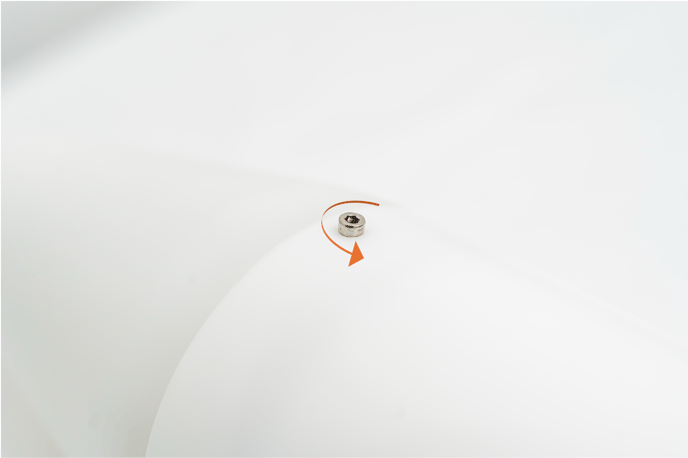
- Using the provided screwdriver, unscrew the fixing screw that utilizes the enclosed hex head tool (allen wrench) located on the upper part of the lower casing.
Refrain from taking out the regular hex head screws on the lower casing.
-
 Hold the upper portion of the case with one hand and the lower cylindrical casing with the other.
- While keeping the top part steady, turn the lower casing counterclockwise to disconnect the two halves.

- Carefully separate the top half from the bottom half of the unit.
-
Prepare the Cable Entry
-
- On the bottom half of the case, lift the black rubber tab.
- Feed the power cable through the opening created by lifting the tab.
-
Connect the Cable to the SV307A

-
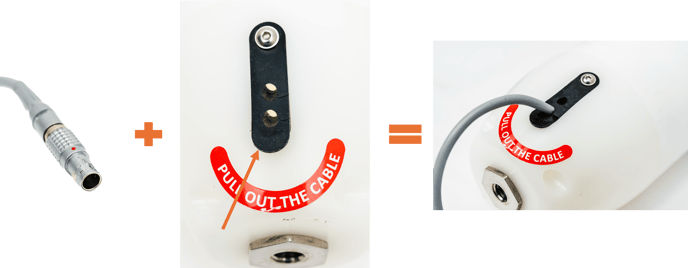
- Align the red dot on the cable with the red line on the SV307A’s left connector.
- Firmly connect the cable in place.
-
Connect to the Solar Panel
- Mount your solar panel in its designated position.

- Connect the positive cable from the SV307A to the positive output cable on the solar panel.
- Connect the negative cable from the SV307A to the negative output cable on the solar panel.
- If power is available from the solar panel, the SV307A will automatically power on.
- Mount your solar panel in its designated position.
If you are using an external power source instead of the solar panel, the device will also turn on automatically once external power is connected. No manual switch-on is required.