![99745fd6-afc8-495e-a1a1-c5fa6c1501aa.png]](https://resources.spectotechnology.com/hs-fs/hubfs/99745fd6-afc8-495e-a1a1-c5fa6c1501aa.png?width=300&height=113&name=99745fd6-afc8-495e-a1a1-c5fa6c1501aa.png)
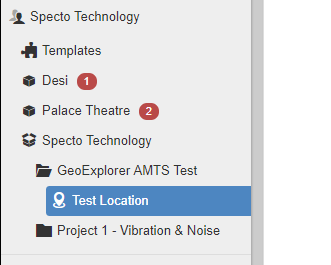
Eagle.io uses a nested system of workspaces - folders - locations - data sources - and finally parameters where data is stored. Before you can start importing data into eagle you should properly format the files Eagle will be accepting. The simplest way to do this is to create one file for each sensor (for example one prism consisting of an X, Y and Z would have its own file). Once the files are formatted and transferred to an FTP, Eagle can be configured.
PLEASE NOTE: The most effective way to setup multiple sensors is to completely setup one location complete with any charts or other data displays you want and then copy that as a template. This way, you don't have to duplicate all the work you did setting up the first one, just rename the location, go into the properties and change the "File name match" to the appropriate file. For a given project it is useful to copy one of each sensor type and save it in a Templates Group so new sensors can be added easily in the future.
Step 1: Create a new "Workspace" (or workspace and "Group" as required by your project). Groups are folders that can be nested within other Groups to organize your project into however many groups of sensors you need.
- Step 2: Create a new "Location" for the sensor you want to import. Locations can be dragged onto the map from the tray on the left hand side.
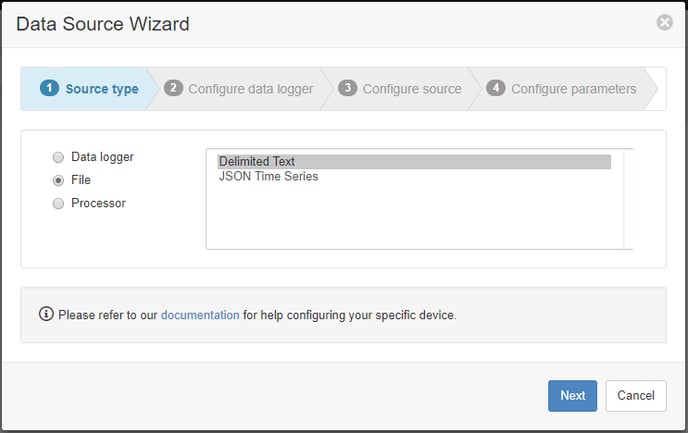
- Step 3 under the new Location create a new "Data Source". Follow the steps in the wizard to point eagle to the proper FTP and import the correct data into the sensors you want.
- For a single sensor text file import, choose File and Delimited Text and hit Next.
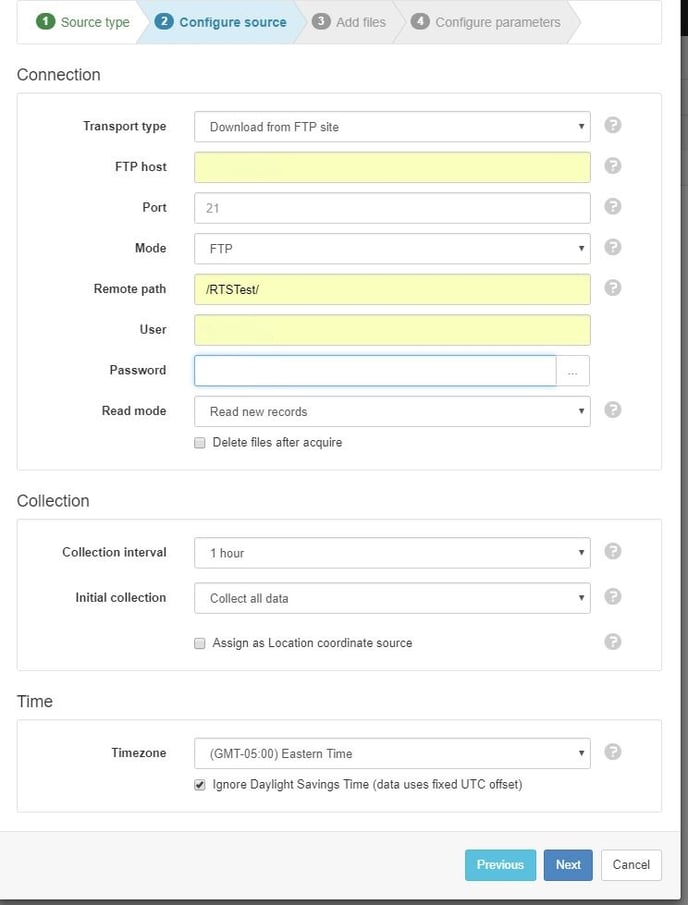
- Choose Download from FTP site. Enter into your host address, remote path, user and password.
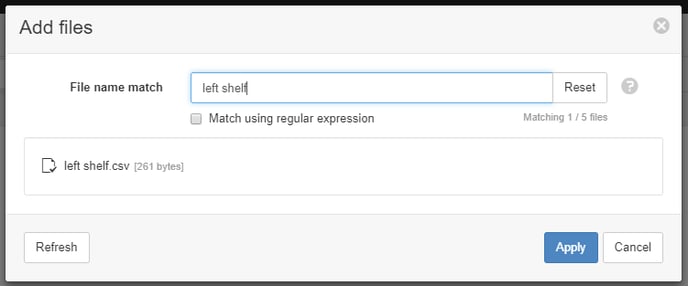
- Eagle will find each file in the directory. In the "File name match" field enter the unique identifier associated with the file for the sensor you want to import.
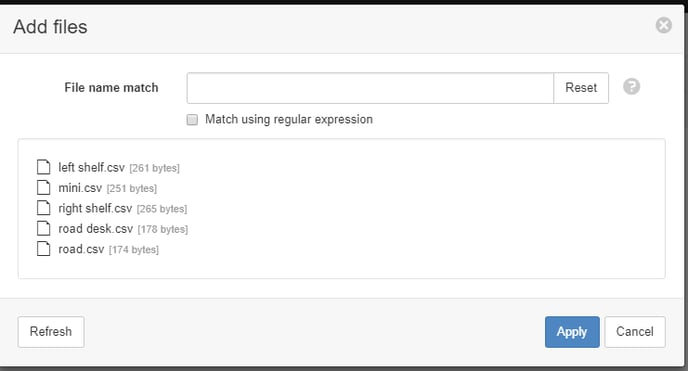
- Here, we are importing the files with the words "left shelf" in the name. This is what eagle will use to identify the files each sensor will pull data from.
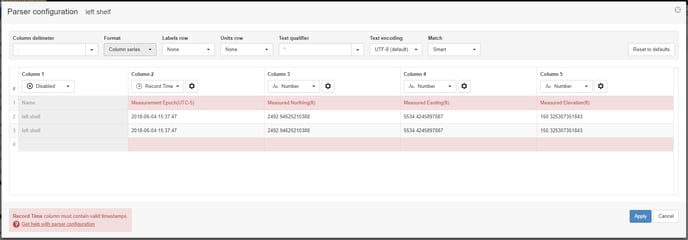
- In the parser, select the columns and rows that will be imported, there are many options here based on the files format of the data. Refer to the Eagle.io documentation on this section for all the different options. Below are typical setting for importing Geo Explorer data.
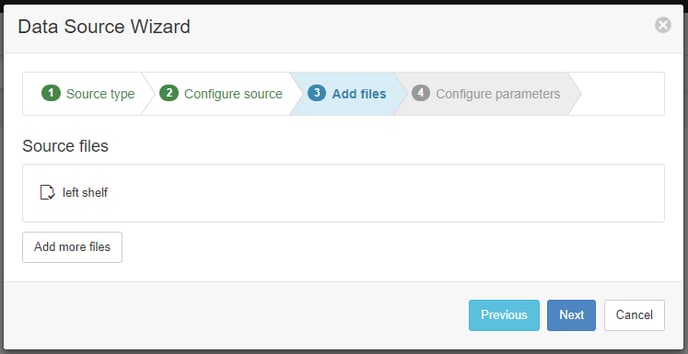
- You can add more files but for this setup only one file will be used per sensor.
- Name the columns.
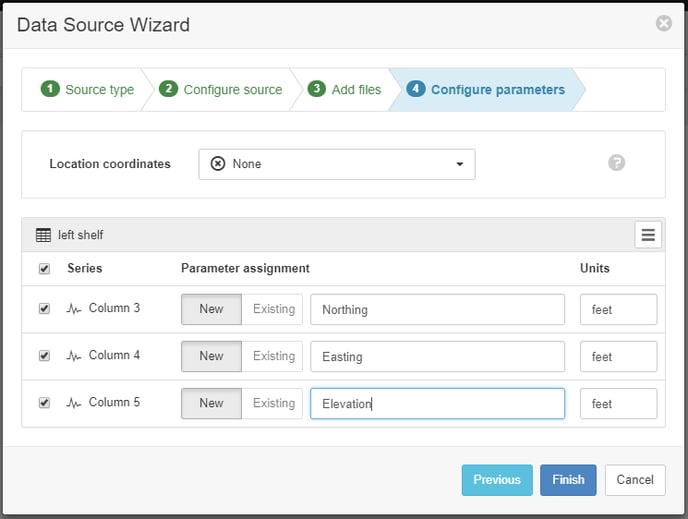
- Hit Finish and the job will automatically create the parameters under the file source.
.png?width=591&height=473&name=Untitled%20picture1%20(1).png)
- Step 4: Create a historic chart.
- On the location right click and choose Create>Chart.
- Choose Historic.
- The chart will appear and be blank. To add data, drag the parameters (in this case Easting, Elevation, and Northing).
- You should now see data for all three on the chart. Right click on the chart and go to properties.
- On the General tab, add any project information you want displayed.
- On the Axes tab add a Y Axis for the default Y and put the label for that axis including units.
- If you need a secondary Y for another data type such as temperature, add it here.
- On the Links tab, you can edit which parameter is on which axis if you are using multiples and you can also customize the name of each parameter as it will appear on the chart.
- Under "Links", hit edit on each parameter then hit "Data". Here, you want to choose the way the chart displays the data. For most monitoring projects the Raw option will be needed. Only use Interpolated if a project specific need requires it.
- Step 5: Change the parameter Data option to Raw.
- Right click on each parameter and choose Properties. Under Chart > Data select Raw. Again, a project may need interpolated but most will need raw.
- Step 6: Check that you have created and configured everything the way you want to display it for the final product and then once you have confirmed your first location is correct, start copying and pasting to create all needed sensors. Before copying a template, Location right click on the data source within it and uncheck "Source Enabled" (NOTE: If you copy and paste a Location with the Source enabled it will import the incorrect data when you paste it. After copying and pasting the location, rename it and change the "File match name" on the source in the Series tab to the correct source and then check the checkbox for Source Enabled.