This article explains how to create locations, contributions, alerts, reports, and schedules for Site Contribution in Aeroqual Cloud.
Site Contribution – How To
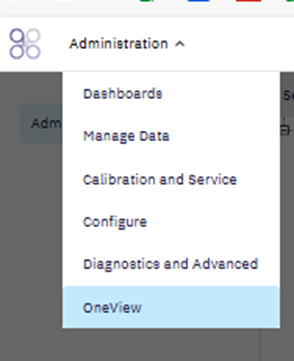
Select OneView (Top menu)
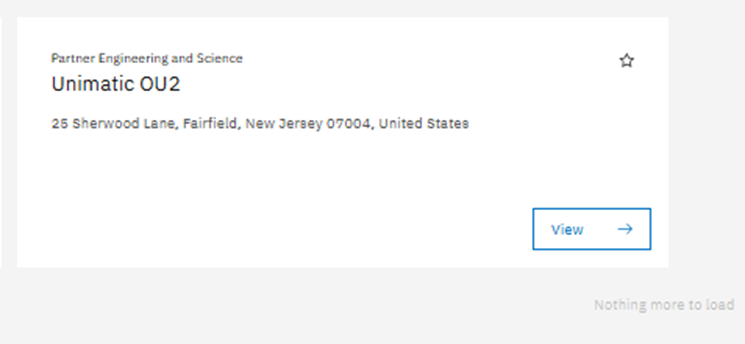
View Project
Create Location
Name is the station name, e.g. NW1533 SOUTH
Location is coordinates (Use an address to navigate to a general location on the map on the left, then use your cursor to pinpoint specific coordinates for the station location)
Don’t “Assign instrument” yet
Click “Create”
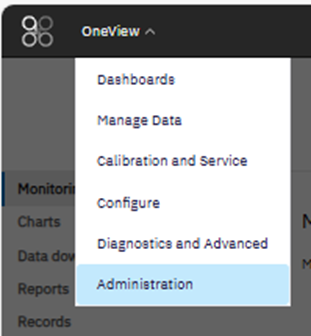
Select “Administration” from the top left
Detach the instruments from the previous locations, by highlighting the location, and clicking the X on the right menu, to the right of “Attached instruments.” See screenshots below.
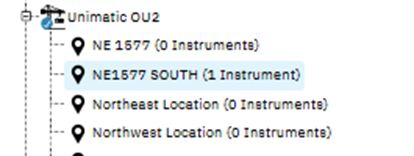
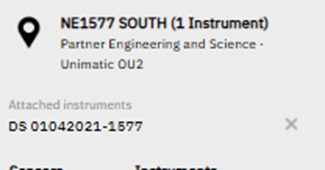
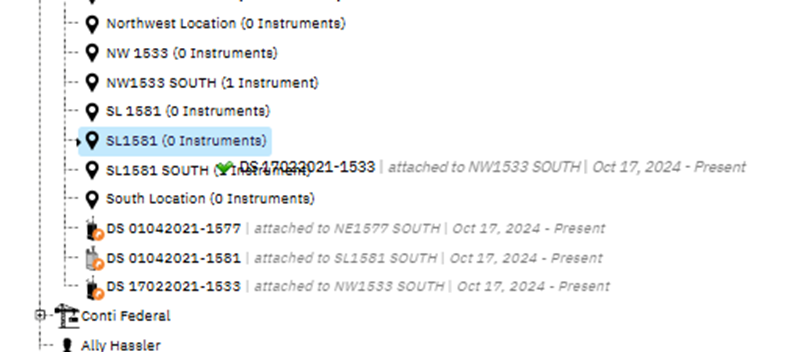
Once the instruments are detached from their previous locations, you can add the instruments to the locations that you just made in OneView. You do this by dragging and dropping the instruments into the new locations. (The green checkmark (Screenshot below) lets you know, the instrument is free to move to the new location as you’re dragging and dropping.)
Navigate back to OneView, and to your project.
Select “Contributions” from the menu on the left
- Select “Create Contribution” (on the right)
- Type a Contribution Name
- Type: DER-10 Site Contribution
- Keep PM10, VOC, 15 mins (Averaging period), Rolling average (Averaging method)
- Next
- Data Sources (Select all the instruments you wish to associate with Site Contribution)
- Create
Select “Alerts” from the men on the left
- Click the three dots on the right to “Clone” an Alert

- Remove the word, Clone, from the alert
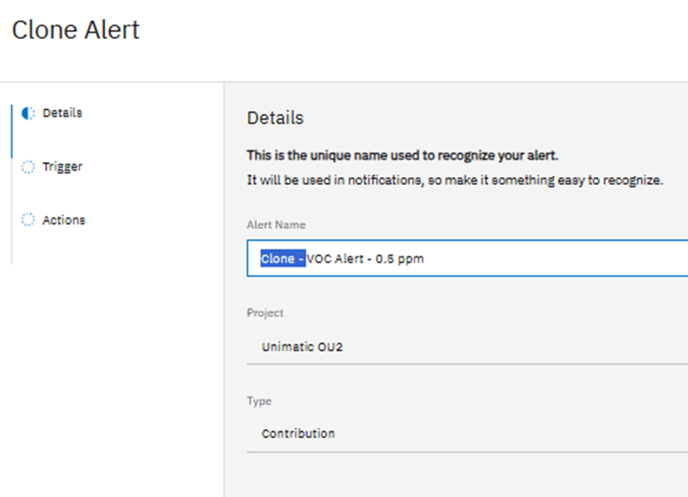
- Next
- Make sure the Source is attached to the correct Site Contribution
- Channel: PM10 contribution, or VOC Contribution
- Averaging period: Rolling average
- Next
- Add email recipients and/or phone numbers
- Clone
- Make sure to clone both alerts (PM10, VOC)
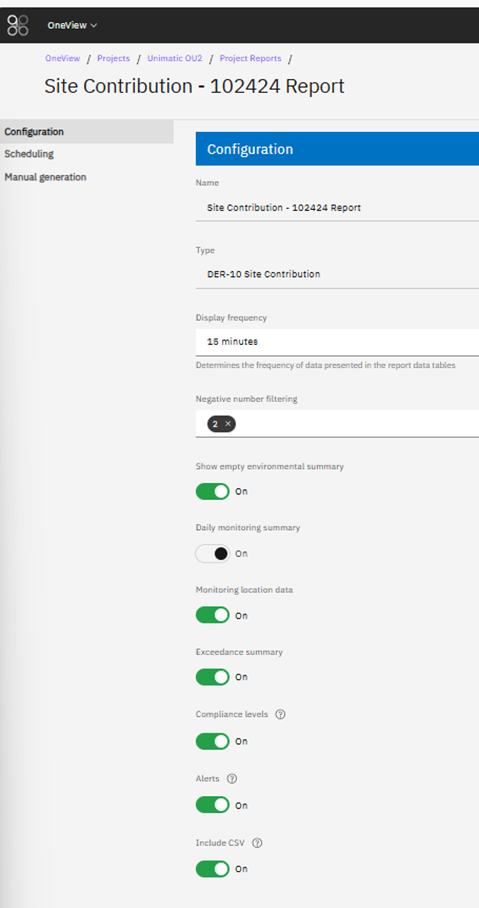
Click “Reports” (left menu)
- Click on the Site Contribution report link
- Click “Edit” (top right)
- Display frequency: 15 minutes
- Negative number filtering: Add PM10, VOC
- Turn everything On
- Save
- Select “Scheduling” (left menu)
- Enabled
- Select days
- Select start time, end time
- Add email addresses for recipients
